How to install fonts Windows 10
Windows already comprise of loads of stylish and attractive fonts. Still, you may not find them as trendy as you want them to be. Fortunately, Windows 10 allows you to install different types of fonts that you wish to. If you want to know about how to install, manage and delete fonts in Windows 10, this article will certainly help you.
How to install Fonts that you like?
Once you have all of your favourite fonts downloaded with you as .ttf files you can just right click and hit Install. It is that simple isn’t?
In order to confirm whether the fonts are successfully installed or not follow the simple steps
- Press – Windows key + Q
- Next type – fonts and press enter using your keyboard
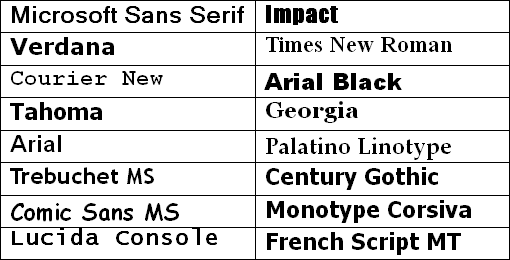
Now you will see the font list being displayed in – Font Control Panel.
In case you couldn’t view them and have already have them installed then simply search the name in search box by typing the name of the font to locate it.
That’s it. You can continue to include your favourite cool fonts in documents that aren’t there in the default list of icons in Windows 10.
In case you have downloaded and installed a font by mistake or you simply want to delete for any reason Click on that particular icon and hit delete. While deleting the fonts you do not wish to see, make sure you do not delete the important fonts like Microsoft Sans, Calibre or Tahoma etc.
You can also change the size of the fonts through Font control panel. Just click on the option- Change Font Size. You can select the font you need to change and choose the size. After making the required selections click- Apply and it just takes a couple of seconds to execute the changes.